The Technology Project is a requirement within the Objects curriculum during the first year of the Garman Art Conservation Program at SUNY Buffalo State. Students are charged with teaching themselves a historical technology. I chose to learn how to slip cast porcelain bowls.
OBJECTIVE:
To learn through experimentation how to slip cast and fire porcelain vessels and decorate with
underglaze and overglaze in the tradition of Jingdezhen ware.
underglaze and overglaze in the tradition of Jingdezhen ware.
MAKING THE MOLD:
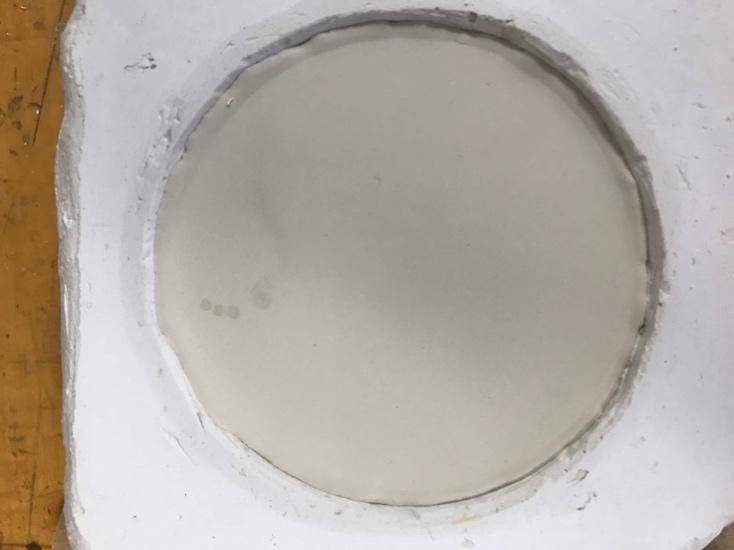
First I chose a small container with straight sides that would be a good positive for a mold. Then, using
air dry clay, plexiglass, and cut aluminum sheeting, I made a square mold. The bowl (positive) was
placed face-down to the plexiglass base and sealed with the air dry clay. The walls were made of the
aluminum sheets and connected with the clay. Once the clay was dry, freshly mixed plaster (in a 1:1
mixture by volume) was poured into the mold so that each wall around the bowl positive was at least 2”
thick. The release agent used was petroleum jelly and in hindsight a mold soap would have been a
superior choice. The positive was difficult to remove from the mold and the texture of the petroleum
jelly was translated into the mold.
 |
| Building a container to pour the plaster mold. |
SLIP CASTING:
Once the mold was dry and cold to the touch (about 24 hours later), the positive was removed and the
first slip cast attempt was made. Commercial porcelain slip was poured into the mold to the brim. The
mold could be tipped slightly to ensure that porcelain was thickening in a wall around the plaster. 17
minutes later, the excess porcelain slip was poured out into a mason jar. This slip was used for later
castings. This first bowl took four days to separate from the mold and cracked upon removal. Because
of this unexpected outcome, three more molds were made and given over a week to completely dry
before attempting casting again.
The second attempt for slip casting was much more successful. The porcelain slip was allowed to sit in
the mold for approximately 15 minutes before the excess was poured out. The bowls took close to 8
hours to separate from the mold and fell easily when flipped upside down.
the mold for approximately 15 minutes before the excess was poured out. The bowls took close to 8
hours to separate from the mold and fell easily when flipped upside down.
Once the bowls were taken out of the mold, the mold could be used again almost immediately after.
The more the mold was used, the shorter the drying and separating process was. After using the molds
10+ times, the porcelain reached desired wall thickness in 7-8 minutes and separated within 2 hours.
The more the mold was used, the shorter the drying and separating process was. After using the molds
10+ times, the porcelain reached desired wall thickness in 7-8 minutes and separated within 2 hours.
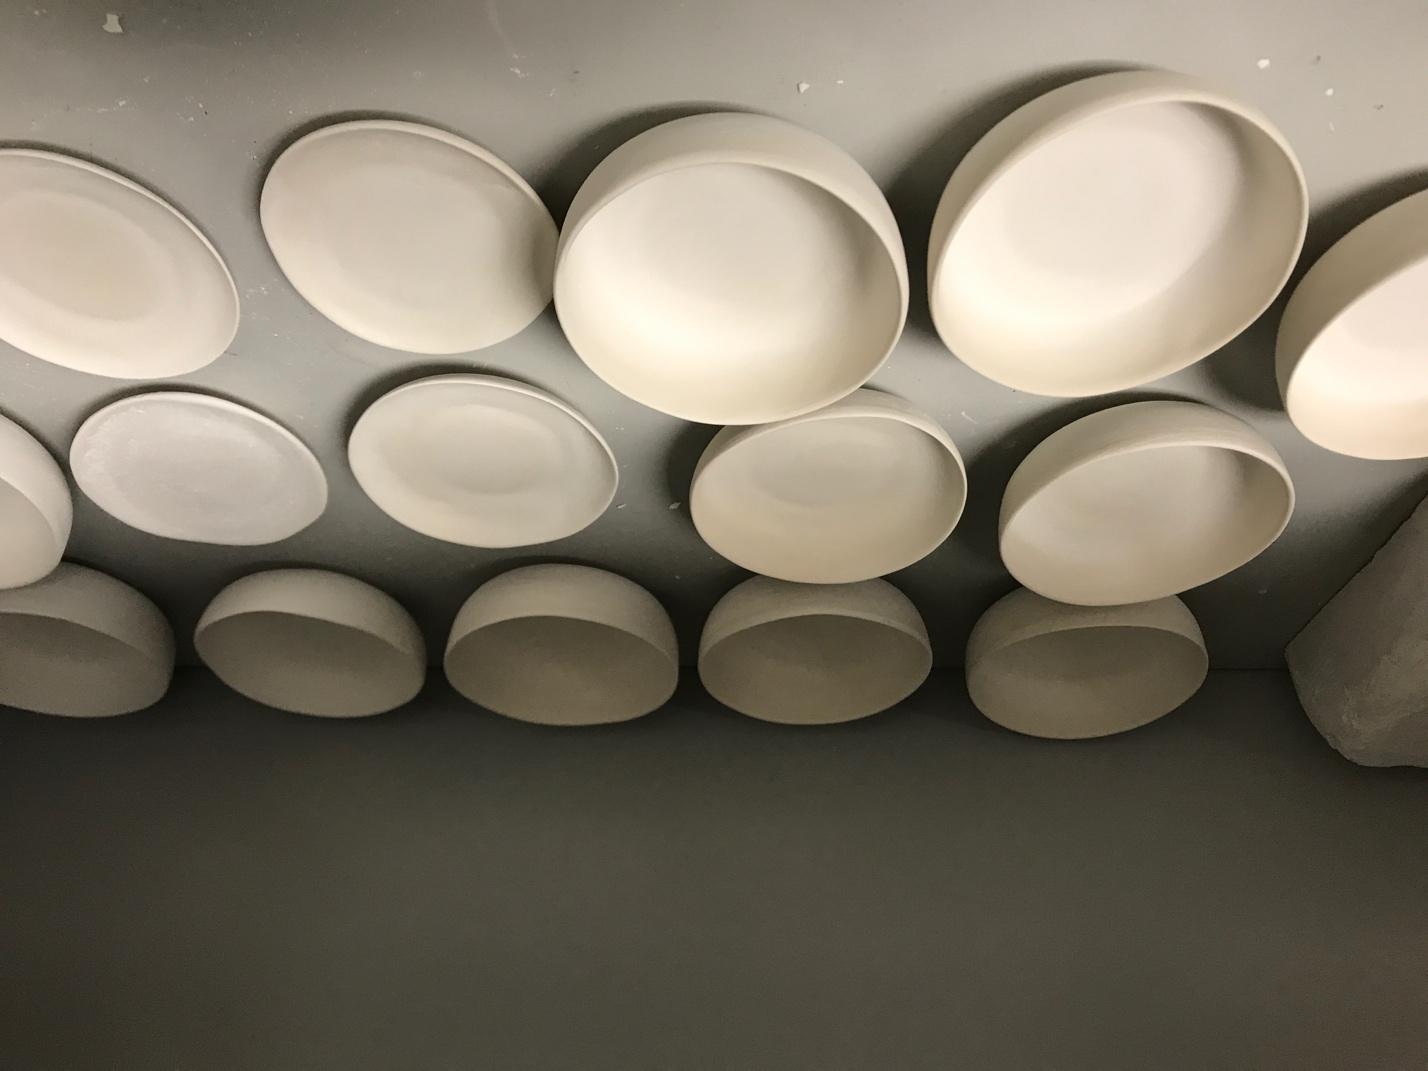
Bowls were set out to air dry and texture was smoothed with a damp sponge. Handling the bowls too
much at this stage, or using a sponge that was too damp could break the very thin walls of porcelain.
The bowls that broke were shaped into plates.
much at this stage, or using a sponge that was too damp could break the very thin walls of porcelain.
The bowls that broke were shaped into plates.
Smoothed greenware porcelain:
UNDERGLAZING:
For the traditional underglazing, cobalt carbonate was mixed with three different vehicles and painted
on with a brush. Much of my reading indicated water or oil was used, depending on the country of
manufacture, but no real recipe was found. One source indicated that green tea was used in China.
on with a brush. Much of my reading indicated water or oil was used, depending on the country of
manufacture, but no real recipe was found. One source indicated that green tea was used in China.

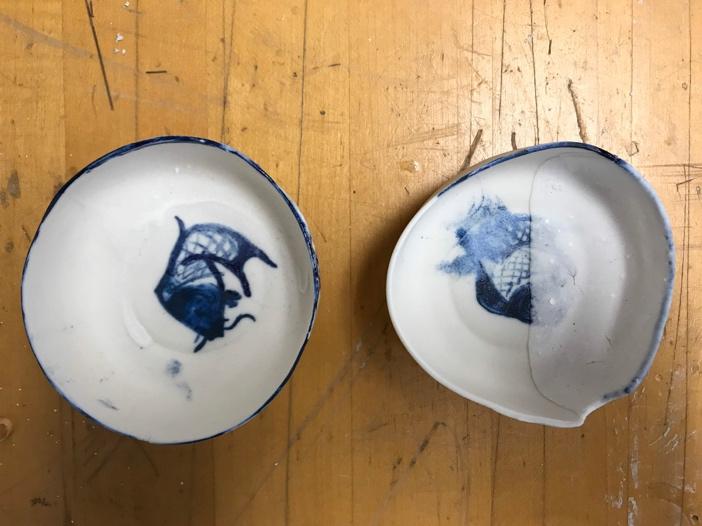
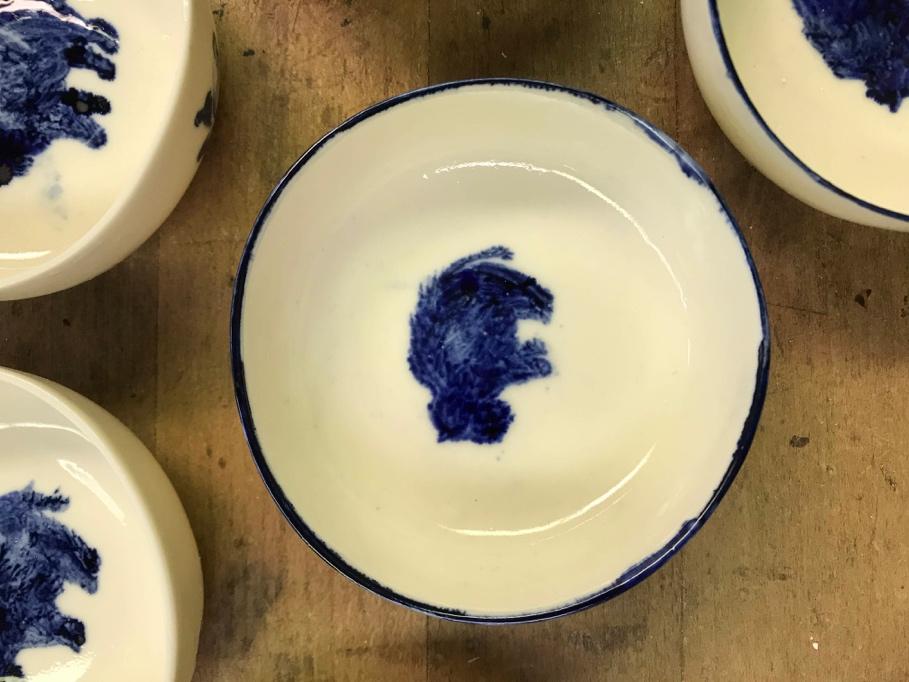
Right top and bottom bowls were cobalt carbonate in green tea, from the Chinese tradition.
At this time, I also experimented with miscellaneous clear glaze recipes.
Bowls B and C were dipped into two different recipes to test during this first firing.
FIRING:
 |
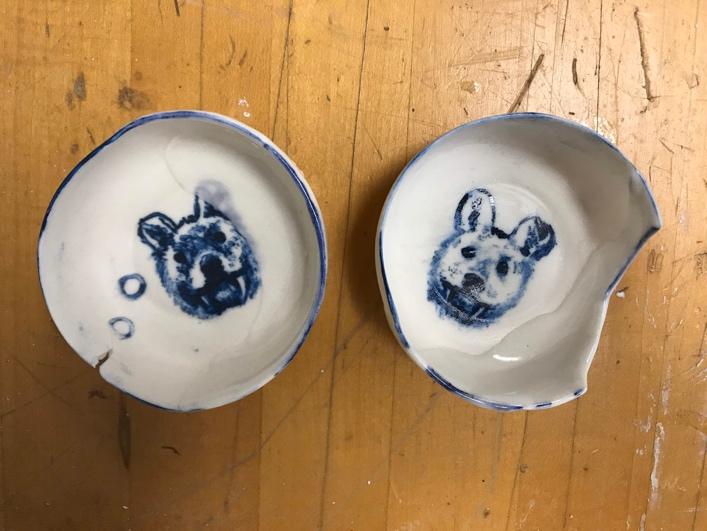
| Bowl after bisque firing; translucency of vitrified porcelain achieved |
sufficient to vitrify the porcelain slip (note the transparent nature of the bowl after firing – image
to the right) and the cobalt glaze. The color glaze of the cobalt was exactly as predicted. The porcelain
did warp slightly, but this may be due to an inconsistency of kiln temperature or placement within
the kiln. The porcelain was bone dry when fired.
All methods of underglazing worked well. The linseed oil made a smoother line but did not flow as
finely as the water based vehicles. Tap water was used for the rest of the project.
finely as the water based vehicles. Tap water was used for the rest of the project.
GLAZING:
The first two clear glazes tried were taken from historical recipes for a clear glossy glaze. One was
very underfired (above photo, right bowl) as it did not vitrify at all. The other (above photo, left bowl)
was applied too thickly.
very underfired (above photo, right bowl) as it did not vitrify at all. The other (above photo, left bowl)
was applied too thickly.
The other piece learned from this first firing is that it would be better to bisque fire the underglazed
piece before dipping into the clear glaze. The water based, unbound cobalt carbonate smudged easily
when handled. After firing, these wares would be much easier to work with. Future firings were bisque
fired to cone 04 after underglaze design was painted on.
piece before dipping into the clear glaze. The water based, unbound cobalt carbonate smudged easily
when handled. After firing, these wares would be much easier to work with. Future firings were bisque
fired to cone 04 after underglaze design was painted on.
Two final transparent feldspathic glazes were tried:
to mass ratio, tap water was gradually mixed into the container. This solution was passed through a
sieve multiple times until no clumps remained.
The bisqued bowls were dipped in the glaze and smoothed. The glaze dried very quickly.
Keeping the glaze agitated was important as the solution started to settle out very quickly.
The best glaze was the So Clear from John Britt.
This glaze, when fired to cone 6, was glassy, transparent, thin and even.
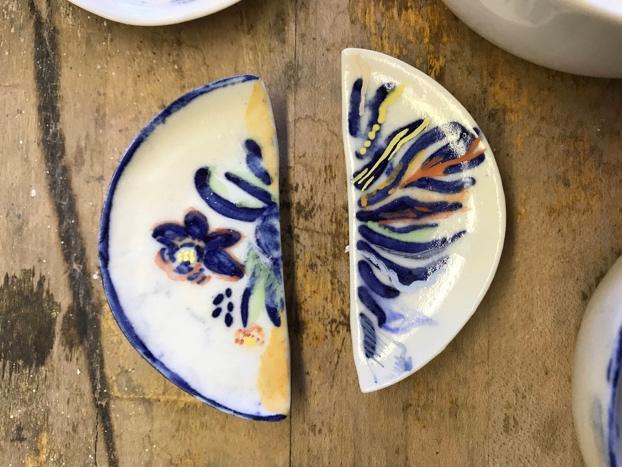
OVERGLAZING:
Finally, colorful overglazes were used to decorate the porcelain bowls. Historic pigments were ground,
mixed with spike oil, and painted onto the surface.
mixed with spike oil, and painted onto the surface.

REFERENCES:
1. Britt, John. The Complete Guide to Mid-Range Glazes: Glazing and Firing at Cones 4-7. Lark Crafts.
2014.
2014.
2. Wood, Nigel. Chinese Glazes Their Origins, Chemistry, and Recreation. A&C Black, London.
1999.
1999.
OTHER RESOURCES:
Clark, Kenneth. The Potter’s Manual Complete, practical-essential reference for all potters. Quarto
Publishing. 1983.
Publishing. 1983.
Conrad, John W. Ceramic Formulas: The Complete Compendium. Macmillan Publishing Co., Inc.
New York. 1973.
New York. 1973.
Zamek, Jeff. The Potter’s Studio Clay & Glaze Handbook. Quarry Books, Massachusetts. 2009.
ACKNOWLEDGEMENTS:
Allison Slenker whose support, knowledge, and spirit of exploration was instrumental in this process.
Livy Balin for sharing her experience with the department kiln.
Jonathan Thornton for his guidance and encouragement throughout the process.
Dr. Aaron Shugar for information on historic glazes.