Wednesday, March 9, 2022

Meeting Summary: “Facing Our Past: Conservation Treatment of a Theatrical Wagon Panel”

Meeting Summary: “Facing Our Past: Conservation Treatment of a Theatrical Wagon Panel”


“Facing Our Past: Conservation Treatment of a Theatrical Wagon Panel”  talk by:
Stephanie Guidera, Graduate Fellow at the National Museum of American History

Summary by: Emma Kimmel, Graduate Intern in the Department of Painting Conservation at the National Gallery of Art

Content Warning: The following passage describes racist literature and practices.

As part of the WCG’s Intern and Fellow Talks hosted on Zoom, Steph Guidera presented her treatment of a painted panel from a theatrical wagon housed at the National Museum of American History (NMAH). Her presentation not only detailed aspects of her treatment, but also provided context for the wagon panel’s use as part of a traveling minstrel show that was popular during the 19th century.

Guidera, after a land acknowledgement and statement of support for the Black Lives Matter movement, began her presentation by providing background for the wagon panel’s use. This panel is one of five from NMAH’s collection which detail different scenes from Harriet Beecher Stowe’s Uncle Tom’s Cabin, a best-selling novel from the 19th century that aimed to educate Northerner’s about the South and to humanize slaves. Although the problematic stereotyping and white saviorism of Stowe’s novel is obvious to modern readers, at the time the book was hugely popular throughout the United States. Due to its popularity, there were numerous productions of Uncle Tom’s Cabin, known as “Tom Shows,” running throughout the U.S.; in New England alone there were about 400-500 productions running between the 1850s-1930s. These performances were part of a larger trend of racist minstrel shows common at the time where predominately white people wore blackface to play the role of black people. The wagon panels owned by NMAH would have been part of a traveling performance of Uncle Tom’s Cabin, and used to transport actors and set pieces to different locations.

In the 1980s, shortly after their acquisition by NMAH, the panels were faced with tissue which totally obscured the underlying painted designs. Guidera’s first task was to remove this facing; although the facing adhesive was soluble in water, some of the binder in the fragile paint was water sensitive. After trying several different methods of removal, she decided to remove the facing using 5% Klucel G in ethanol. Any paint fragments that came up with the facing were consolidated and readhered to the panel with 10% Aquazol 500 in ethanol.

Once the facing was removed, the central image became more legible – a scene from Uncle Tom’s Cabin depicting one of the main characters Eliza running across the ice. Descriptive text “Uncle Tom’s Cabin.” and “___ Company” could also be read more clearly. However, removing the facing also revealed further condition issues: the full extent of loss throughout the design, and how little binder remained in the surviving paint layers. There was also significant dirt and debris, but this could not be addressed until the paint was adequately consolidated. 10% Aquazol 500 in ethanol was used to consolidate individual paint fragments, whereas a 5% solution was applied overall to areas with loose paint. Even after this local consolidation, the paint was so poorly bound that it was easily dislodged with light pressure, or would crumble to powder. Cleaning, therefore, was done selectively to those pigments stable enough. The most successful cleaning method Guidera tested was to clean the surface with cotton swabs using 3% triammonium citrate at pH 8, cleared with deionized water.

After consolidation and cleaning, there were still areas with powdering paint and a generally uneven surface saturation overall. Guidera therefore decided to varnish the entire panel, with the dual purpose of consolidating and evenly saturating the paint layers. As such, she applied a 15% Laropal K80 varnish in 1:4 xylenes : Stoddard solvent over the entire panel; due to the fragile state of object, reversibility was not prioritized in this case. There is still much work to do on these panels: addressing the structural stability of the wood and metal elements, creating appropriate display and storage mounts, and of course treatment of the other panels in the group.

Guidera ended this illuminating presentation with resources for continuing education (listed below) and informed audience members they can eventually see these wagon panels in person in NMAH’s upcoming exhibition Entertainment Nation (date TBD).

Resources for Continuing Education:
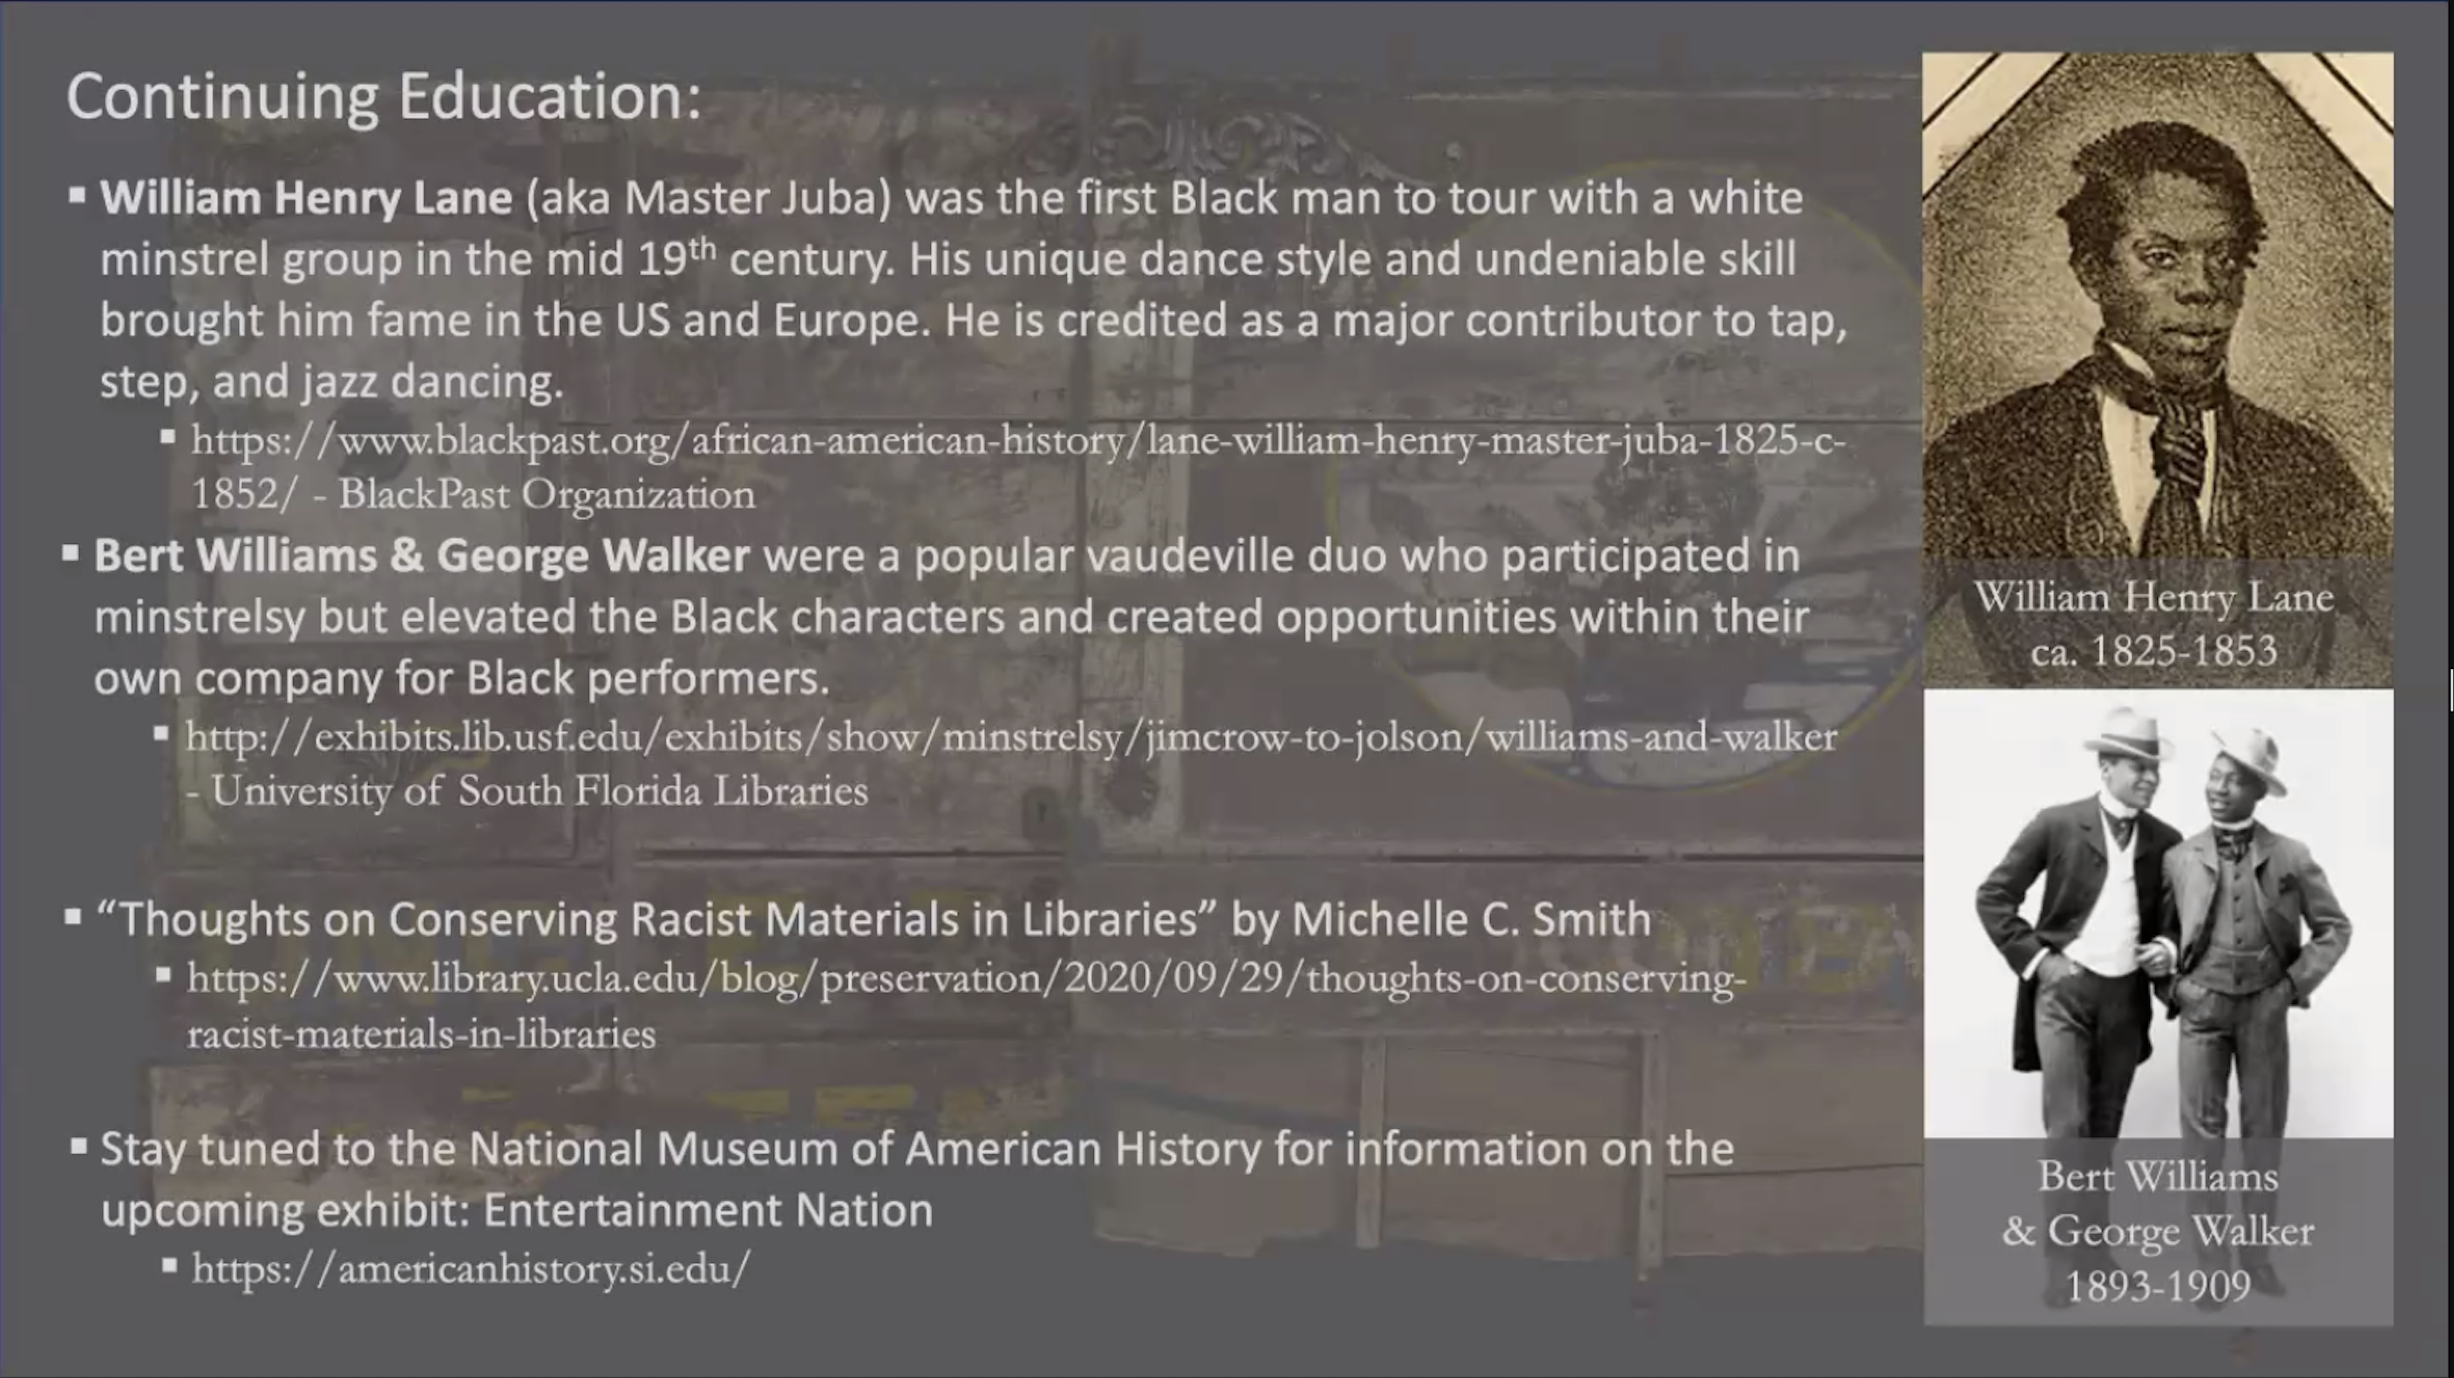
William Henry Lane (aka Master Juba) was the first Black man to tour with a white minstrel group in the mid-19th century. His unique dance style and undeniable skill brought him fame in the U.S. and Europe. He is credited as a major contributor to tap, step, and jazz dancing.

Bert Williams & George Walker were a popular vaudeville duo who participated in minstrelsy, but elevated the Black characters and created opportunities within their own company for Black performers.

“Thoughts on Conserving Racist Materials in Libraries” by Michelle C. Smith


Reposted from: https://washingtonconservationguild.org/2021/04/29/meeting-summaries-preservation-confederate-monuments-era-black-lives-matter-facing-past-conservation-treatment-theatrical-wagon-panel/

Monday, December 30, 2019

SLIP CASTING AND GLAZING PORCELAIN


The Technology Project is a requirement within the Objects curriculum during the first year of the Garman Art Conservation Program at SUNY Buffalo State. Students are charged with teaching themselves a historical technology. I chose to learn how to slip cast porcelain bowls.

OBJECTIVE: 
To learn through experimentation how to slip cast and fire porcelain vessels and decorate with
underglaze and overglaze in the tradition of Jingdezhen ware.


MAKING THE MOLD:
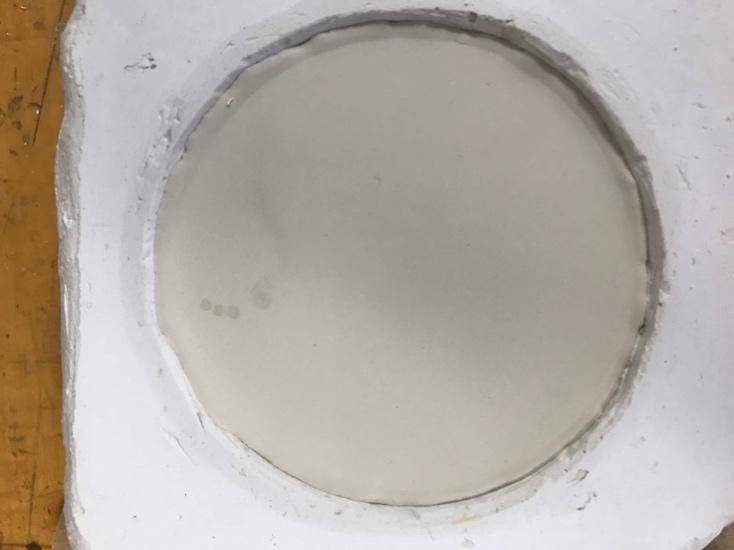
First I chose a small container with straight sides that would be a good positive for a mold. Then, using
air dry clay, plexiglass, and cut aluminum sheeting, I made a square mold. The bowl (positive) was
placed face-down to the plexiglass base and sealed with the air dry clay. The walls were made of the
aluminum sheets and connected with the clay. Once the clay was dry, freshly mixed plaster (in a 1:1
mixture by volume) was poured into the mold so that each wall around the bowl positive was at least 2”
thick. The release agent used was petroleum jelly and in hindsight a mold soap would have been a
superior choice. The positive was difficult to remove from the mold and the texture of the petroleum
jelly was translated into the mold.

../Downloads/IMG_1455.JPG
Building a container to pour the plaster mold.


SLIP CASTING:
Once the mold was dry and cold to the touch (about 24 hours later), the positive was removed and the
first slip cast attempt was made. Commercial porcelain slip was poured into the mold to the brim. The
mold could be tipped slightly to ensure that porcelain was thickening in a wall around the plaster. 17
minutes later, the excess porcelain slip was poured out into a mason jar. This slip was used for later
castings. This first bowl took four days to separate from the mold and cracked upon removal. Because
of this unexpected outcome, three more molds were made and given over a week to completely dry
before attempting casting again. 


The second attempt for slip casting was much more successful. The porcelain slip was allowed to sit in
the mold for approximately 15 minutes before the excess was poured out. The bowls took close to 8
hours to separate from the mold and fell easily when flipped upside down. 


Once the bowls were taken out of the mold, the mold could be used again almost immediately after.
The more the mold was used, the shorter the drying and separating process was. After using the molds
10+ times, the porcelain reached desired wall thickness in 7-8 minutes and separated within 2 hours. 


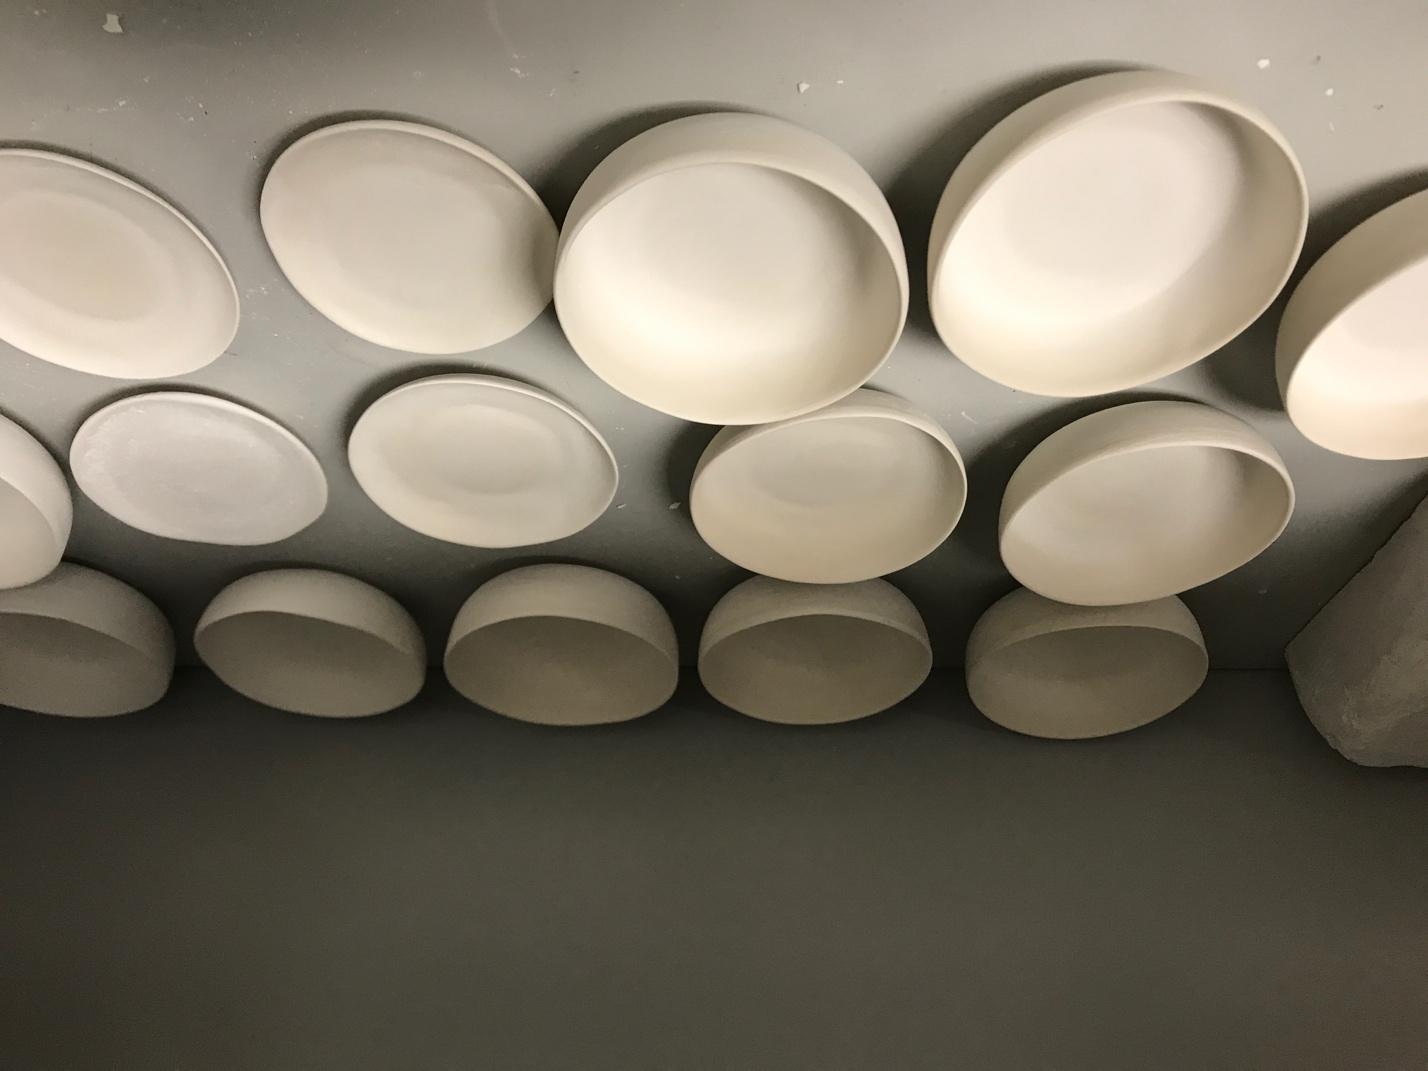
Bowls were set out to air dry and texture was smoothed with a damp sponge. Handling the bowls too
much at this stage, or using a sponge that was too damp could break the very thin walls of porcelain.
The bowls that broke were shaped into plates.  

Porcelain slip in mold; edges setting:
../../Users/stephanieguidera/Downloads/Photos%20(6)/IMG_0


Smoothed greenware porcelain:
../Downloads/IMG_0951.JPG


UNDERGLAZING:
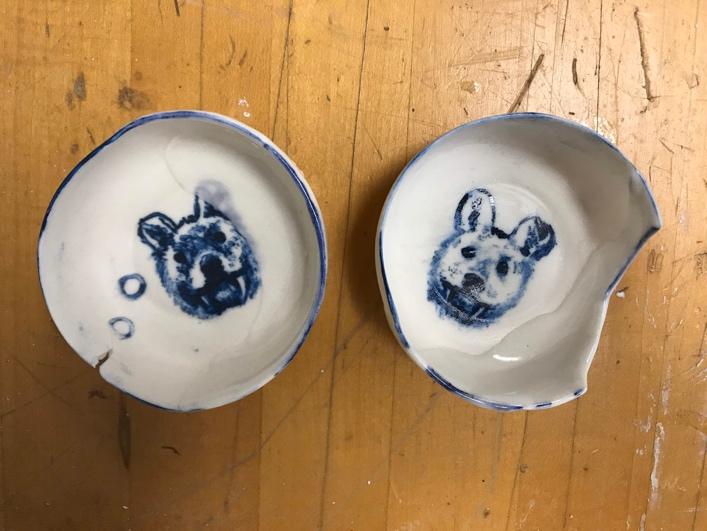
For the traditional underglazing, cobalt carbonate was mixed with three different vehicles and painted
on with a brush.  Much of my reading indicated water or oil was used, depending on the country of
manufacture, but no real recipe was found. One source indicated that green tea was used in China.


I tried the following, illustrated in the image below:

../Downloads/Photos%20(6)/IMG_0997.jpg
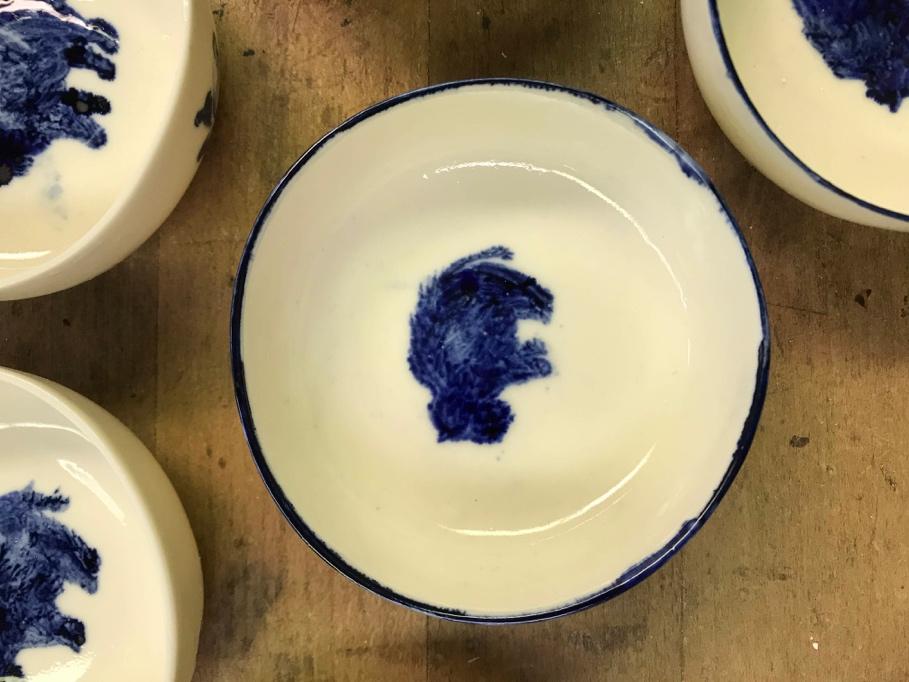
Left top and bottom bowls underglaze was cobalt carbonate in linseed oil, from the Dutch tradition. Middle top and bottom were cobalt carbonate in tap water, most commonly mentioned in all techniques and countries of origin.
Right top and bottom bowls were cobalt carbonate in green tea, from the Chinese tradition.


At this time, I also experimented with miscellaneous clear glaze recipes. 
Bowls B and C were dipped into two different recipes to test during this first firing.


FIRING:
../Downloads/Photos%20(6)/IMG_1068.jpg
Bowl after bisque firing; translucency of vitrified porcelain achieved
For the first firing, the kiln was programmed to reach cone 6, with a slow ramp time. This was
sufficient to vitrify the porcelain slip (note the transparent nature of the bowl after firing – image
to the right) and the cobalt glaze. The color glaze of the cobalt was exactly as predicted. The porcelain
did warp slightly, but this may be due to an inconsistency of kiln temperature or placement within
the kiln. The porcelain was bone dry when fired.


All methods of underglazing worked well. The linseed oil made a smoother line but did not flow as
finely as the water based vehicles. Tap water was used for the rest of the project. 

../Downloads/Photos%20(6)/IMG_1070.jpg../Downloads/Photos%20(6)/IMG_1064.jpg


GLAZING:
The first two clear glazes tried were taken from historical recipes for a clear glossy glaze. One was
very underfired (above photo, right bowl) as it did not vitrify at all. The other (above photo, left bowl)
was applied too thickly. 
The other piece learned from this first firing is that it would be better to bisque fire the underglazed
piece before dipping into the clear glaze. The water based, unbound cobalt carbonate smudged easily
when handled. After firing, these wares would be much easier to work with. Future firings were bisque
fired to cone 04 after underglaze design was painted on. 


Two final transparent feldspathic glazes were tried:
So Clear (Cone 6)1
Xing Glazes (Cone 6)2
32% Ferro Frit 3124
26% Feldspar 
19% Silica
13% Whiting
10% EPK
43% Feldspar 
12% EPK 
29% Silica 
10% Whiting 10
6% Dolomite
../Downloads/Photos%20(6)/IMG_1486.jpg
Dry ingredients, totaling 100 grams, were weighed and mixed in a plastic container. In a 1:1 volume
to mass ratio, tap water was gradually mixed into the container. This solution was passed through a
sieve multiple times until no clumps remained. 


The bisqued bowls were dipped in the glaze and smoothed. The glaze dried very quickly. 


Keeping the glaze agitated was important as the solution started to settle out very quickly.


The best glaze was the So Clear from John Britt. 
This glaze, when fired to cone 6, was glassy, transparent, thin and even. 


OVERGLAZING:
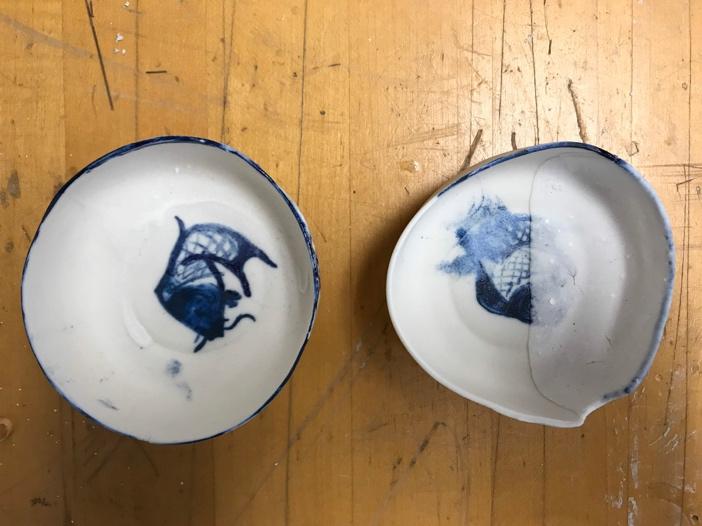
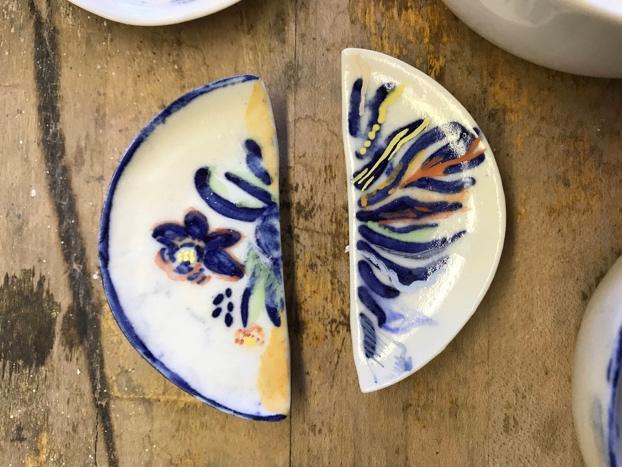
Finally, colorful overglazes were used to decorate the porcelain bowls. Historic pigments were ground,
mixed with spike oil, and painted onto the surface.

../Downloads/Photos%20(6)/IMG_1223.jpg../Downloads/Photos%20(6)/IMG_1235.jpg


REFERENCES: 1. Britt, John. The Complete Guide to Mid-Range Glazes: Glazing and Firing at Cones 4-7. Lark Crafts.
2014.
2. Wood, Nigel. Chinese Glazes Their Origins, Chemistry, and Recreation. A&C Black, London.
1999.


OTHER RESOURCES:
Clark, Kenneth. The Potter’s Manual Complete, practical-essential reference for all potters. Quarto
Publishing. 1983.
Conrad, John W. Ceramic Formulas: The Complete Compendium. Macmillan Publishing Co., Inc.
New York. 1973.
Zamek, Jeff. The Potter’s Studio Clay & Glaze Handbook. Quarry Books, Massachusetts. 2009.


ACKNOWLEDGEMENTS:
Allison Slenker whose support, knowledge, and spirit of exploration was instrumental in this process. 
Livy Balin for sharing her experience with the department kiln.
Jonathan Thornton for his guidance and encouragement throughout the process.
Dr. Aaron Shugar for information on historic glazes.

Wednesday, April 6, 2016

Concept album/painting in series

I love music.  There are few moments in my life in which there isn't music playing at least in the background.  It's a legitimate enjoyment, passion-fueling, inspiring love.  Only sometimes is it white noise or distraction, as I pay too much attention to the sounds for it to count as these things.  Now that I've proven beyond reasonable doubt that I love music....one of my favorite things an artist can do is release a concept album.  The idea that each song isn't just a beautiful mix of poetry, melody, harmony, rhythm, etc, but that each song fits into a specific theme, story, feeling, time.  Sgt. Pepper's, OK Computer, The Suburbs, Hazards of Love, everything by Sufjan Stevens, etc....AFFECTIVE.

This might be one of the reasons that I'm a serial painter.  I feed my ADHD side with small illustrations or commissioned pieces here and there, on the side, but I always have a series I'm working on.  I believe that series(es?), or albums, allow the artist to delve deeply into a concept and give it the time/attention it deserves while presenting an opportunity to achieve cohesion in style and narrative.  It is also an exercise in determination and evolution.  Some concepts fall flat after 2 pieces, while some could carry on for many albums/series.  Working in this way requires forethought and conceptual congruency - there has to be an answer to why.

My current series (see previous blogs for more) is coming along well.  Slowly, but well, and, you can't hurry love.  My mind usually works millions of steps before my body, but the physical process of painting always brings me back to the struggle and beauty I'm needing to communicate.  Which brings me to #5 of the series; finished:
5, 30"x30," oil on canvas


Face detail

Sunday, December 13, 2015

Adventures in Art Conservation

I have been working, for the past two years, on gaining experience and completing pre-requisites for an art conservation graduate program.  The road is long, difficult and quite narrow.  For someone like me, realizing after undergrad that this is the career for me, there are classes to take and experience (mostly unpaid) to obtain.  What this means for me, with my BA in studio art, is taking 20 credits of college level chemistry and completing the 400+ hours of practical experience in a conservation lab.  Conservation is a very small field; there isn't a huge demand for it, worldwide.  Most jobs, found in museums and cultural centers, are hard to find.  Instead of taking the for-profit school approach of who cares if they'll get a job, let's collect their tuition (ahem, art majors...), the few institutions in the US (yes, 3) with a graduate program accept a small number of students per year, taking only the best of the best.  This means competition is fierce.  And while I think this is a good way to weed out those who aren't truly serious, it's nonetheless, daunting for those of us who are.

So here I am, 15/20 credits in chemistry under my non-science-brain-ed belt, almost a year of interning at a fantastic regional conservation center (MACC), learning so much, applying most of it and after every shift interning, feeling validation that this is my path.  Most of the work I've been assisting with cannot be shared with the public as it comes from private and museum collections.  One thing I can write about, though, is compo (sometimes called ornamental composition).  Compo is basically a compound of different glues/adhesives and chalk that, when made correctly and molded, makes up most of the fine ornate frames we see today.  Here's a great example thanks to a Google image search:


This specific frame, here, is in need of some tlc restoration.  The white pieces you can see, where the gilding has chipped off, is the compo (the white is a gesso, layered over the compo, allowing gilding to adhere).  To restore this frame, one would take a mold of the pattern with a silicone mold, cook up some compo, allow it to set, and affix compo to frame, re-gesso, re-guild and, voila, good as new!

I needed a project that would satisfy an organic chemistry lab that I had missed.  This idea of compo was very interesting to me, so I decided to take a mold and try my hand.  The wonderful conservators (in the object lab at MACC, who have been graciously inserting knowledge into my brain for the past 9 months) told me everything I needed to know and were on hand just in case I blew anything up.


So here I am in the lab....

Two hot plates (living on the edge!)
Silicone mold
Initial mixing with the chalk
Compo in the mold

Final product and original mold -- SUCCESS!


It was pretty satisfying to have a really wonderfully successful product on my first try!  The only thing that I didn't do well was not casting the mold quickly enough.  The 2-part silicone mold making material set faster than I was ready for.  This is why the cracks appeared in the mold, and why they translated onto my piece of compo.  The compo piece remained quite flexible for almost a day before it hardened beyond any serious bending.  This is one of the wonderful characters of this mixture, it holds a pattern, yet, for hours afterward can be manipulated to fit the desired shape completely.  

Not only was this project an amazing hands-on learning experience, but my lab write up (including illustrating the chemical reactions and explaining a knowledge of the properties of the molecules and why they react the way they do together) got full marks!  Conservator-in-training success.  One more positive step on the way!!

Wednesday, November 4, 2015

And now, this.


And now the restoration (really, reworking) of this piece is well underway.  I realized, while I was looking at my reference image, that I had completely screwed up the ear placement.  I'm a huge (stubborn) believer in not using a grid, so these errors of measurement and proportion definitely happen.  I know, I know, a grid would cut my time by so much....but....I feel like the challenge of eyeballing and measuring manually is so much more rewarding when you truly get it right.  So, here I am, completely repainting this face....and so absolutely happy with the outcome.  The proportions are now absolutely right.  The shading?  Better.  The ear?  Better.  Yes, the scratch is still visible....but I didn't want to use any fillers or mediums to make the loss less-visible.  Every line and crack caused by my inexperienced and uneven gesso work with an oil ground is very visible under bright lights.  This scratch should be, too.  It's all part of the piece's personal history.


And now I'm almost ready to call this piece done, again.

Soundtrack?  My happy place jams of The National (Alligator) and Father John Misty (I Love You, Honeybear).  Also, does anyone else have Adele's new song in their head on repeat?  Cause, that one too.  Sorry, Ivy Building, if you heard me belting that today......

Monday, October 12, 2015

Life's Little Surprises

There's this absolutely sublime feeling when a piece of work that has been labored on for hours upon hours is done.  Welp, take a picture, move onto the next one.  There's also a limited amount of space in one's studio to hang or nicely/safely store large paintings.  Then, there's the universe who says, well, Steph, you're renting a spot shared by 2 other artists, the building is dirty and unfinished, there's multiple machine shops in the basement, and open windows.  So, something falls, and this happens:
And then you cry.

For comparison, the earlier, finished product:
Smooth perfection, meet gash.  Trying not to loose my mind completely over this 8 inch long massacre, I remembered that I want to become an art conservator.  Isn't this the exact thing these lovely sciencartists fix?  Consulting the amazing team (that I also happen to intern for) at MACC, I looked into this nasty scratch to find out just how bad it was.  The scrape, from an unknown object, must have been sharp, and must have been at an angel-praising angle, because, would you believe it, there isn't even a dent in the canvas where the gash is.  Finding that it was simply a topical wound dried my tears.  After consolidating the flaking layers of oil paint and hard-work, my plan is to simply fill, cover, fill, cover, potentially repaint the face (EHH), cover, fill until the unsightly wound no longer exists.  And thus, my crash course into art conservation.*

And I was so proud of that ear.  

*Note, were this a piece by another artist, the covering and repainting of face aspect would absolutely not be involved.  A matching color impainted in the affected area that would be fully reversible would be the typical course of action.  

Tuesday, August 18, 2015

So far...

I haven't blogged since June, true.  I have been painting, though.  My current series, focusing on coping, mental/emotional conditions and fungus/growth is coming along.  For more background on the theme, please read past post here.

One of the figures I most wanted to paint was that of a mother.  Perhaps this is because, as a woman, a lot of life is focused on becoming (or not becoming) one's mother, and then becoming (or not becoming) a mother to brand new humans.  One experiences precautions to not become a mom and routines to encourage the seed to sprout.  Whether one has children or not, the majority of a woman's life is dedicated to "motherhood."

Early on in my art sponge-iness, I came across this sketch by Pablo Picasso:


I was moved.  As a teenager.  Completely and utterly touched by the body language in this mere sketch.

In regards to my newest piece in this unnamed underwater women series, I wanted to represent mothers.  As an honor, yes, but also to ask why.  As everyone has very valid opinions on this, I wanted to examine my thoughts on motherhood.  It can, to me, be a way to deal with the harshness of this life; a way to deal with the madness in our heads.  It's also a very biological thing that happens without planning (but not without action).  I've experienced being lost in the eyes of a perfect, innocent, amazing, trusting child that you love with all your heart.  You want to give them absolutely everything and more.  Even if that may mean sabotaging your life as you know it.

So, in this universe of invasive growth, lichen and fungus, this one takes the place of a child.  Where some figures are fighting, trying to escape, this one is nourishing it, calmly cherishing the company of it.


Perhaps this symbolizes resignation, perhaps it's hope of something good coming.  It may simply be nature taking it's course.  This one, more than others has been emotionally challenging to create.  I am hoping, also, that it's emotionally challenging to experience as a viewer.  Maybe more so when the intended context is understood.

Detail
And so I'm almost done with another piece.  I have a few pieces of the background to touch-up, but that's that.  I've been building and preparing 4 new canvases, so there's much more to come soon.  
The series thus far is shaping up:


Recent soundtrack:
The Beatles -- all of it.  Going back to my childhood :)
alt-J -- This is All Yours
Tame Impala -- Currents
D'Angelo and the Vanguard -- Black Messiah
Hozier (yes, still obsessed)